Hub
Aggregate, monitor, and act on data from all your WordPress sites in one place.
Links
Introduction
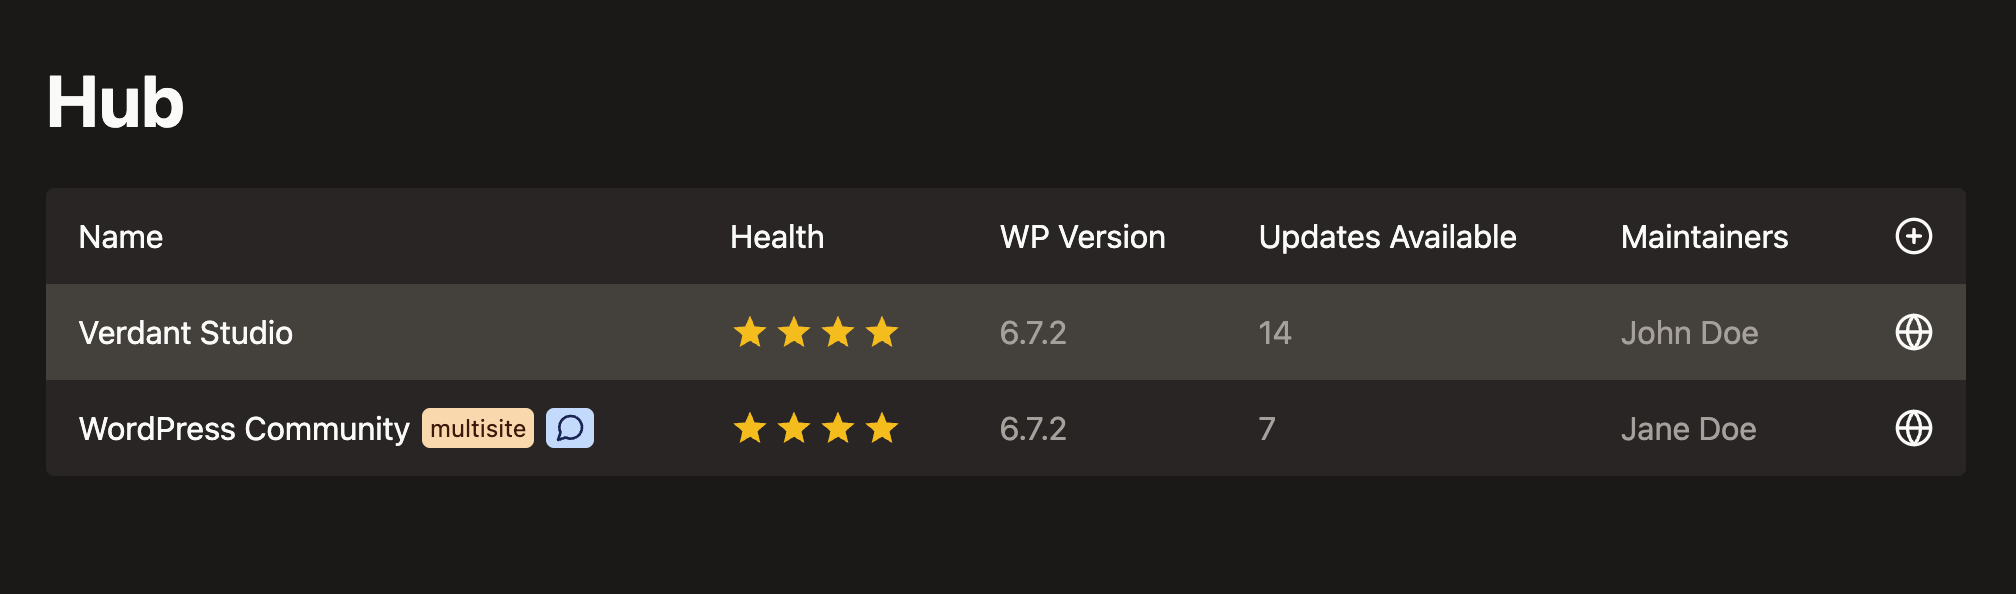
Hub is a lightweight, open-source platform that aggregates data from multiple WordPress sites into a single, user-friendly dashboard. Built for efficient site management, it allows you to monitor key metrics and oversee all your sites in one place. Hub requires the Relay plugin, which collects data from each WordPress site and sends it to Hub for centralized viewing.
Getting started
- Download the Relay plugin from the WordPress plugin directory
- Follow its installation instructions to set it up on your WordPress sites
- Run Hub using one of the methods described on GitHub (note that this is only when you want to run it locally, if you are looking to deploy to production we recommend using Coolify)
Deploy using Coolify
You can deploy Hub using Coolify, a self-hosted platform-as-a-service (PaaS) that simplifies the deployment of applications. Follow these steps:
- Follow the installation instructions in the Coolify documentation
- Once Coolify is set up, create a new project and select "Public Repository" and enter the URL: https://github.com/verdant-studio/hub click on "Check repository"
- Next select:
- Build Pack ->
Docker Compose - Base Directory ->
/ - Docker Compose Location ->
/docker-compose.yaml
- Build Pack ->
- Press "Continue"
- Scroll down to "Domains" and click on "Generate Domain" for both backend and frontend, you'll need these in the next step
- Head over to "Environment Variables" and set:
CLIENT_URL(to the frontend domain you created earlier)VITE_API_URL(to the backend domain you created earlier)
- Press "Deploy"
- Done! 🎉 You should now be able to visit both domains
Custom domains
You can set up custom domains for both the frontend and backend of Hub. In Coolify, navigate to the "Domains" section of your project and add your custom domains.
- For the backend set your domain to something like
https://yourdomain.com:2000/api - For the frontend set your domain to something like
https://yourdomain.com:5173
The port is necessary because the backend and frontend are served on different ports in the Docker setup.
- Next, update the
CLIENT_URLandVITE_API_URLenvironment variables inside Coolify accordingly but leave out the port numbers (e.g.,https://yourdomain.comandhttps://yourdomain.com/apirespectively) - Ensure that your DNS records point to the IP address of your server
- Finally, press "Redeploy" in Coolify to apply the changes
Restrict access
There are several ways to restrict access, the easiest is to add a Firewall rule to your VPS to only allow access to port 80 and 443 from your IP address. This way, only you can access the Hub dashboard.
Getting updates
Each time you want to update Hub, you can simply redeploy the project in Coolify. This will pull the latest changes from the GitHub repository and rebuild the application.
Changelog
All notable changes to this project will be documented in the releases section on GitHub.